
Step-by-step process for issuers to follow when issuing individual credentials.
Accessing Your Credentials
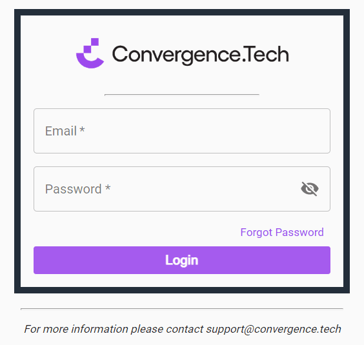
First log in to the C.TI platform.
1. Login to https://cti.convergence.tech/login to access your organisation.
2. In the left-hand navigation bar, click the "Credential Catalog" tab.

3. Find the credential definition you are trying to issue as a one-off issuance. If needed, use the Search bar at the top of the screen to find the credential definition.
Note: Credentials must be defined before they can be issued. Refer to Defining a Credential for more information.
For Bulk Issuance, refer to Issuing Credentials in Bulk
4. Click the ‘ISSUE ONE’ button located on the credential definition you would like to issue.

5. The following screen will display, allowing you to complete the information needed to issue out the credential. Complete the fields as detailed below.

- Add Contact - By clicking on the "+ADD" button in top right corner, you will be able to add a new contact to issue the credential to. Enter the recipient's First Name, Last Name, and Email Address.
- The email is only used to send the credential to the recipient. The email address is not included in the credential.
- Alternatively, you can also issue to 'Past Recipients' by clicking the carrot icon on the right side of the screen. This will display any past recipients to allow you to select them faster.
- Search Bar - This feature allows you to search for specific contacts that have already been added to the system. After the specific contact is located, you may select them to issue the credential.
CREDENTIAL EXPIRES - If the credential has an expiration, you can choose to add an expiry date or an expiry duration. Select the checkbox next to the section title to display the options. Then, select whether you want the credential to expire on a certain date, or after a certain amount of time, and complete the field.

For more information on setting expiring credentials, refer to Setting An Expiration Date for Credentials.
ADD CONTENT - The variables which were specified in the ‘Define Credential’ process will be captured here. This will be where you add the value of the recipient’s specific criteria.
If the "Value" field shows an asterisk, the field is required to continue. Otherwise, you can leave the field blank, and the Content row will not display in the credential viewer. Default values specified in the credential definition will display here by default.

Note: If multiple recipients have been selected on this screen, the values entered in this section will be issued for all recipients.
6. Once all the required fields are completed, click the ‘ISSUE’ button to issue the credential.
By clicking the ‘ISSUE’ button, the credential(s) will be automatically emailed to the contact(s) you selected. There is no further review process beforehand, so be sure to double-check this information before issuance.
If you realize you made a mistake after clicking to issue the credential, please refer to Revoking issued credentials.