
Step-by-step process for issuers to follow when issuing credentials in bulk.
Accessing Your Credentials
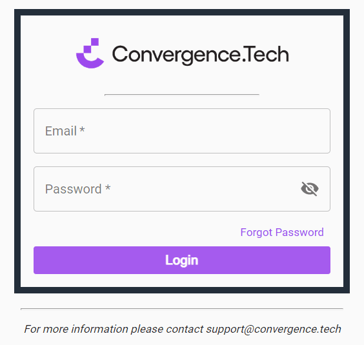
First log in to the C.TI platform.
1. Login to https://cti.convergence.tech/login to access your organisation.
2. In the left-hand navigation bar, click the "Credential Catalog" tab.

3. Find the credential definition you are trying to issue in bulk. If needed, use the Search bar at the top of the screen to find the credential definition.
Note: Credentials must be defined before they can be issued. Refer to Defining a Credential for more information.
4. Click the ‘ISSUE MANY’ button located on the credential definition you would like to issue.

For one-off issuance, refer to Issuing One-Off Credentials.
5. When the pop-up displays, download the bulk issuance template for the credential by clicking the "Template" button in the top right.

6. Click to open the xlsx file template. To find the file, you may need to navigate to the Downloads folder on your computer.
7. Once the sheet is opened, the titles will show in the first row and the rest of the sheet will be blank. Enter a row for each recipient. Do not alter the text in the first row (Row 1) as this is needed to map to the credential definition when re-uploaded. To enter the recipient information from Row 2 and beyond, you will have the following columns:
- First Name - This is a required field. This column is for the recipients' first name, including Title and middle names, if needed.
- Last Name - This is a required field. This column is for the recipients' last name, including suffix, if needed.
- Contact - This is a required field. This column is for recipients' email address.
- The email is only used to send the credential to the recipient. The email address is not included in the credential.
- Expiration Date/Duration - This is an optional field, if your credentials will not expire, simply delete this column. Otherwise, if the credential will expire, include the expiration date (e.g. MM/DD/YYYY) or expiration duration (e.g. X days/months/years).
For more information on setting expiring credentials, refer to the bulk issuance section of Setting An Expiration Date for Credentials.
- [Content] - This is a variable field. If you included rows in the Content section of the credential definition, columns will display with the Name entered in each content row. This column is for the variable value related to each individual recipient. If the content row was set to required in the credential definition, you will need to enter data for every recipient, otherwise you can leave cells blank.
EXAMPLE
When the file is first opened, the cells are blank:

Complete a row for each recipient, without altering the text in the first row:

8. Review the rows for accuracy and save the file on your computer in a place that's easy to locate. The file is now ready to be uploaded to C.TI.
9. Navigate back to your C.TI instance. Click the "Drag and Drop/Select" box in the pop-up or drag and drop your saved file into the pop-up to import your information.

10. The pop-up will update with the information you had in the file. Review the information on the pop-up for accuracy and resolve any errors that display on the screen. You can also add a Batch Label at the bottom of the pop-up. Labels are used to identify batches of issued credentials. Labels can be used to search for specific batches that were previously issued.

11. Once ready, click the ‘Issue’ button to issue the credentials.
By clicking the ‘Issue’ button, the credentials will be automatically emailed to the contacts you selected. There is no further review process beforehand, so be sure to double-check this information before issuance.
If you realize you made a mistake after clicking to issue the credentials, please refer to Revoking issued credentials.
12. After a batch issuance, a check is run through the C.TI platform to see if there were any issues with sending the emails to the email addresses. An error report will be sent to the Admin of your C.TI instance if there are any issues. This report may take a few hours.